Introduction.
There is no moment in clinical dentistry more fraught with “micro-stress” than the delivery of a multi-unit case. Whether it’s a six-unit anterior veneer case, a full-arch implant bridge, or a series of small inlay/onlay restorations, the stakes are incredibly high.
One dropped veneer, one mixed-up sequence, or one lost implant screw can turn a high-production appointment into a clinical and financial nightmare. This month, we are focusing on the “Perfect Delivery” Protocol—a system designed to ensure that the final step of your restorative journey is as calm as it is precise.
The Chaos of the “Mixing Pad” Method
For decades, the “standard” way to organise restorations was to lay them out on a paper mixing pad or a piece of foam. This method has three major points of failure:
The Orientation Error: Once the restorations are off the model, it is surprisingly easy to flip a veneer for tooth #7 with #10, leading to a “fit crisis” mid-bonding.
The “Sneeze” Factor: One accidental bump of the tray or a gust of air from the high-speed suction can send $5,000 worth of ceramics flying.
Contamination: Open-air organisation allows for dust and aerosols to settle on the internal surfaces of your restorations after they’ve been etched and silanated.
The Solution: The LaminateButler
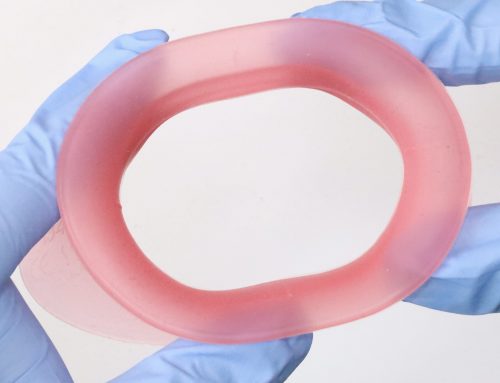
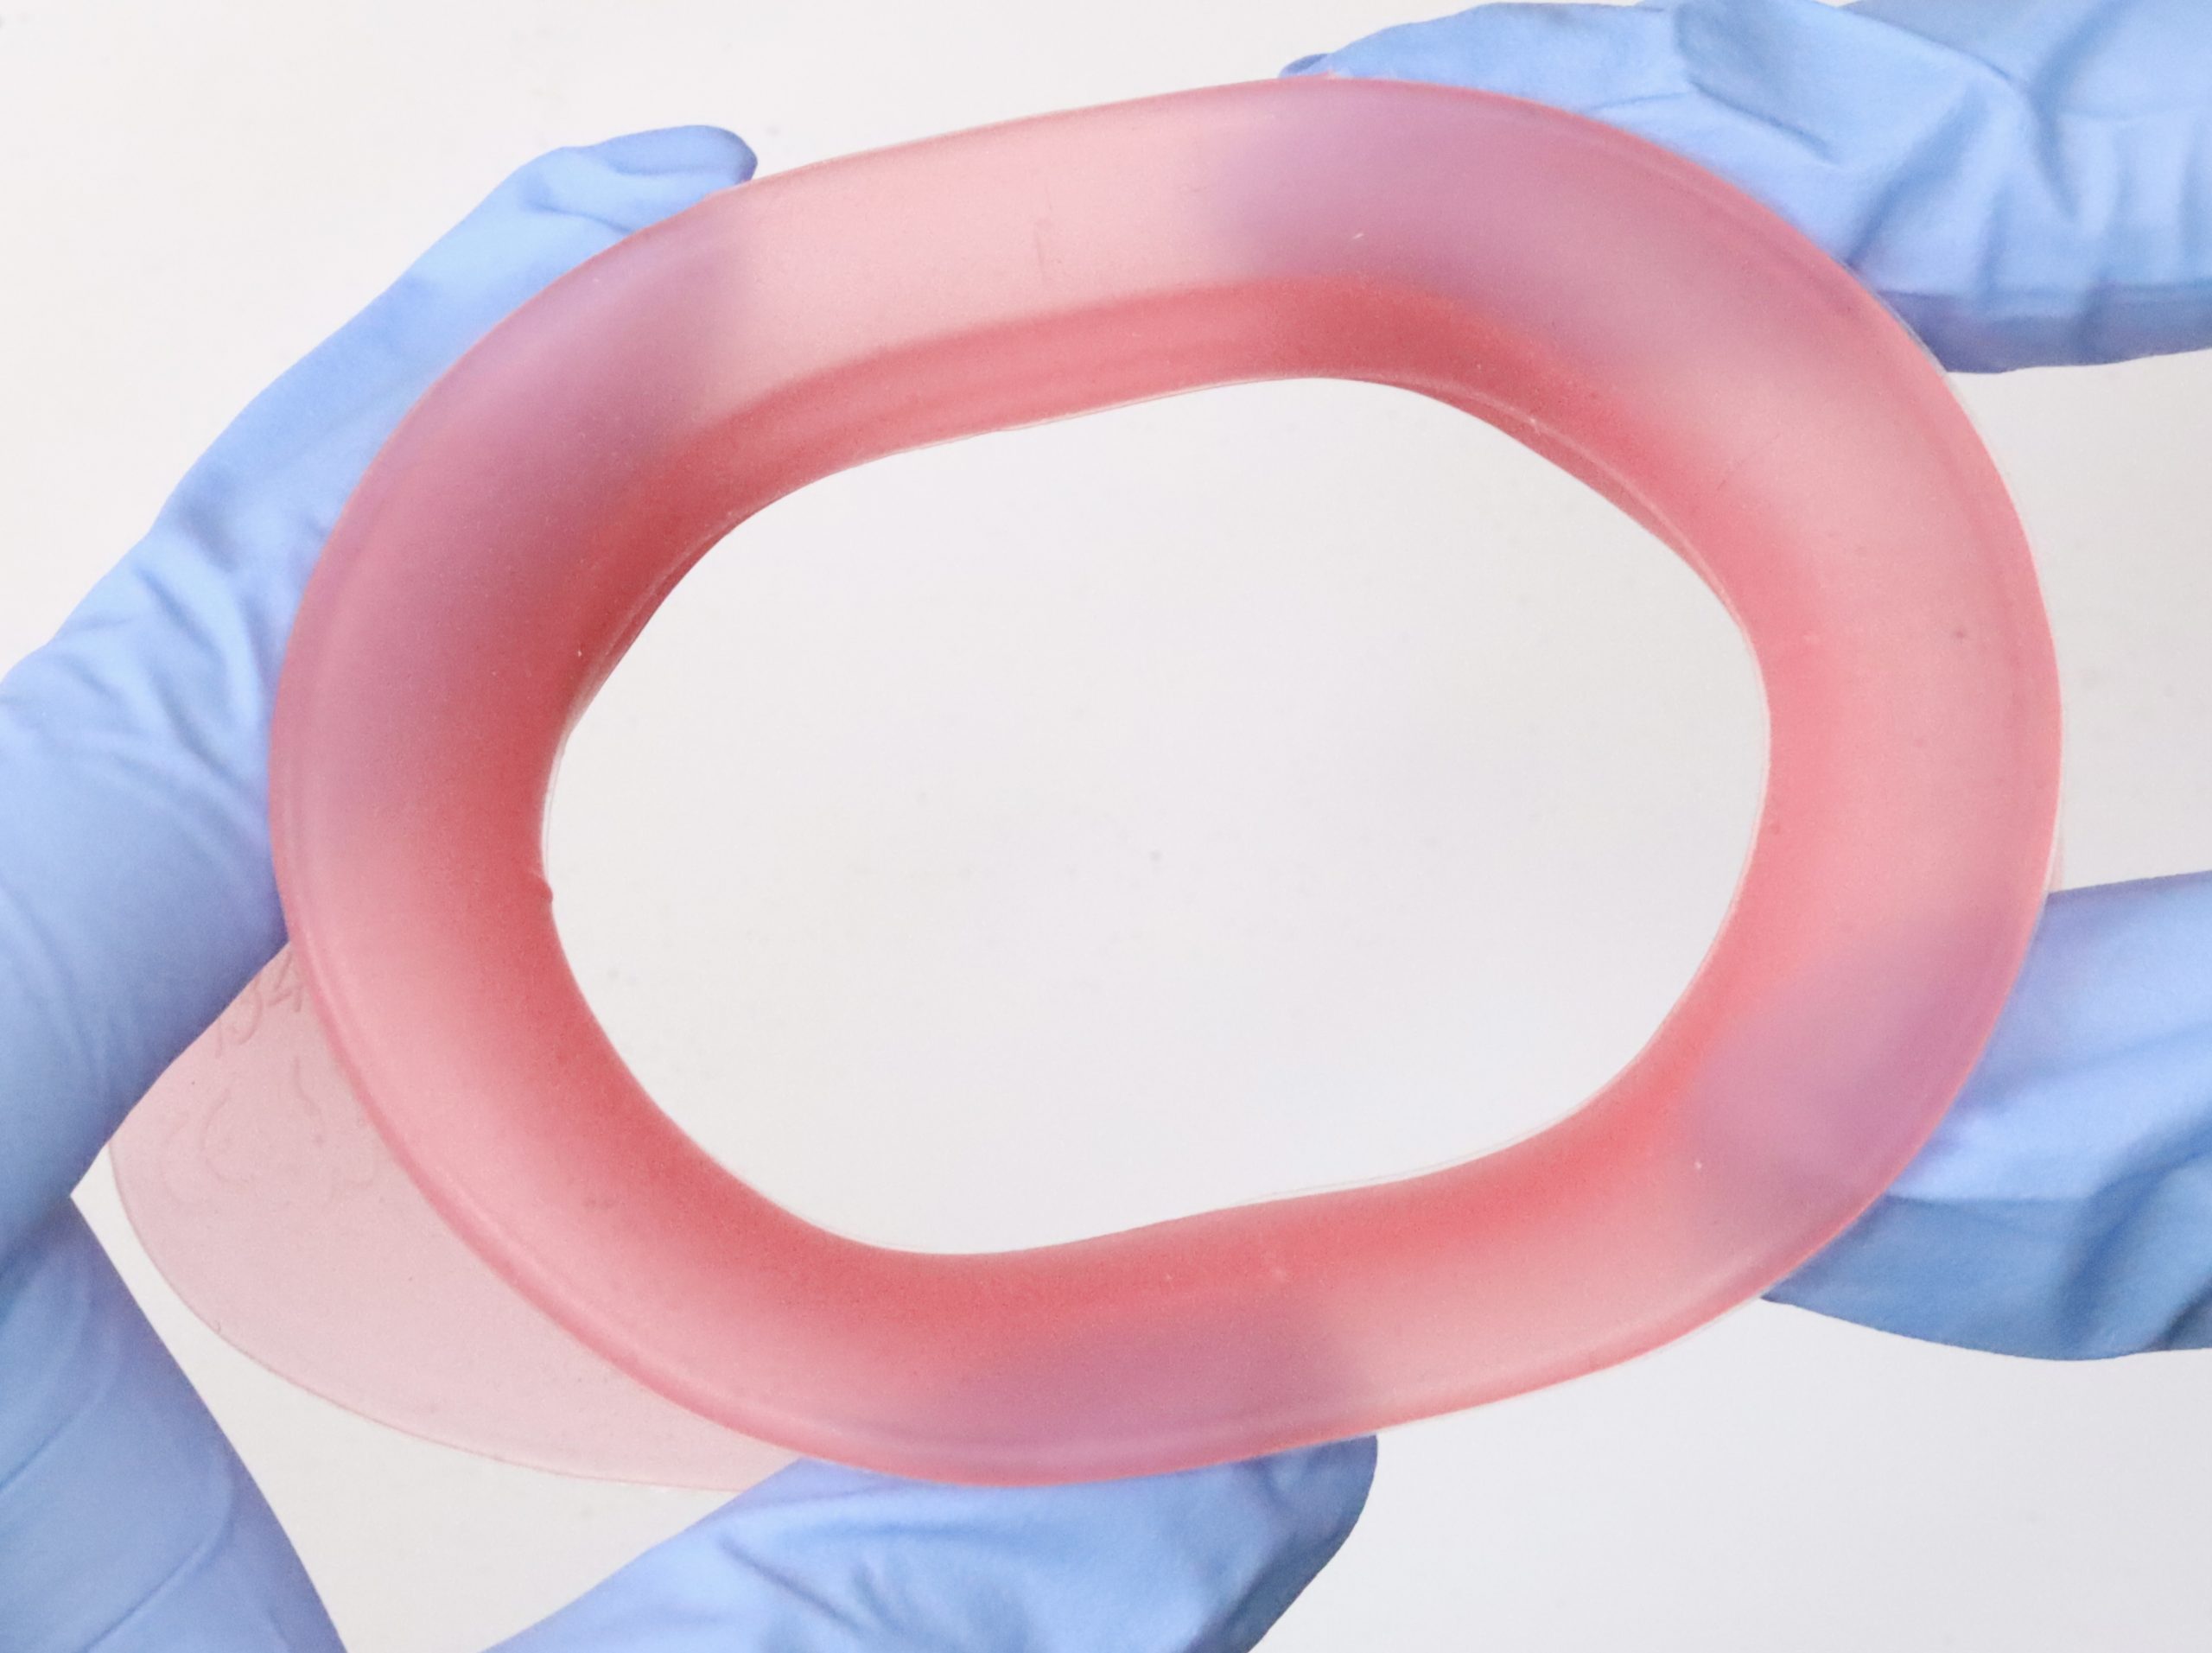
The LaminateButler by Steiriliu was engineered specifically to act as the “command centre” for delivery day. It is a medical-grade silicone palette that organises your workflow from the moment the case arrives from the lab until the final cure.
1. Anatomical Mapping
The LaminateButler features a layout that mirrors the dental arch. When your assistant unboxes the case, the restorations are placed in the corresponding anatomical slot.
The Result: There is zero “guessing” which crown belongs where. You can visualise the entire arch before you even pick up the hand piece.
2. The “Stay-Put” Surface
The high-friction silicone naturally “grips” ceramic and zirconia.
The Result: Even if the tray is moved or tilted, your veneers stay in their assigned positions. This reduces the “dexterity fatigue” of trying to balance tiny, slippery parts.
3. Multi-Phase Utility (Lab to Chair)
The LaminateButler isn’t just for delivery; it’s a versatile tool for the whole team:
The Lab Phase: Use it as a stain-and-glaze palette. It’s autoclavable, so the lab can send the restorations to you already staged in the Butler.
The Chair side Phase: It serves as a sterile mixing well for cements or primers, keeping everything you need for the bonding sequence in one three-inch radius.
Protocol Spotlight: The LaminateButler
The “Stress-Free” Checklist for Delivery Day
To implement the Perfect Delivery Protocol, follow these three steps:
The Verification Sweep: As soon as the case arrives from the lab, the assistant transfers all units into the LaminateButler to verify fit on the model and check for any chips.
The Sequence Prep: Arrange all primers, adhesives, and cements around the Butler in the order of use (Left to Right).
The Sterile Hand-Off: Cover the loaded LaminateButler with an autoclavable lid until the moment of try-in to prevent any operatory contamination.